Bliss balls might have been the best snack invention ever! They are portable, easy to make, undetectably healthy and last for days in the fridge.
Needless to say, our chocolate bliss balls are usually gobbled up by kids and adults alike within a matter of minutes — so, if you want to plan for the week ahead and have a healthy afternoon snack on hand, store them well-covered in a hidden corner of your refrigerator.
download our free energy balls blueprint
Grab your free PDF and sign up for our newsletter by entering your email below!
Since our vegan bounty balls, coconut almond bliss balls, matcha pistachio bliss balls and then the peanut butter bliss balls have become so popular, we knew we had to share more treats like these!
Chocolate bliss balls can be taken to school or work, adjusted to meet any nutritional needs and give you a nice energy boost in the middle of the day.
This whole food plant-based snack requires only 5 ingredients, is fully vegan and bursts not only with rich chocolate flavor but also essential nutrients.
Overview & recipe features
- Gluten-free, vegan & sugar-free
- Endlessly customizable
- No-bake chocolate treat
- Easy to make in around 15 minutes
- Decadent and nutritious
- Kid-friendly and portable
Sounds good? In terms of kitchen tools, you will need a food processor, spoon, measuring equipment and a small bowl.
Let’s check out what goes into these chocolate bliss balls!
Ingredients needed
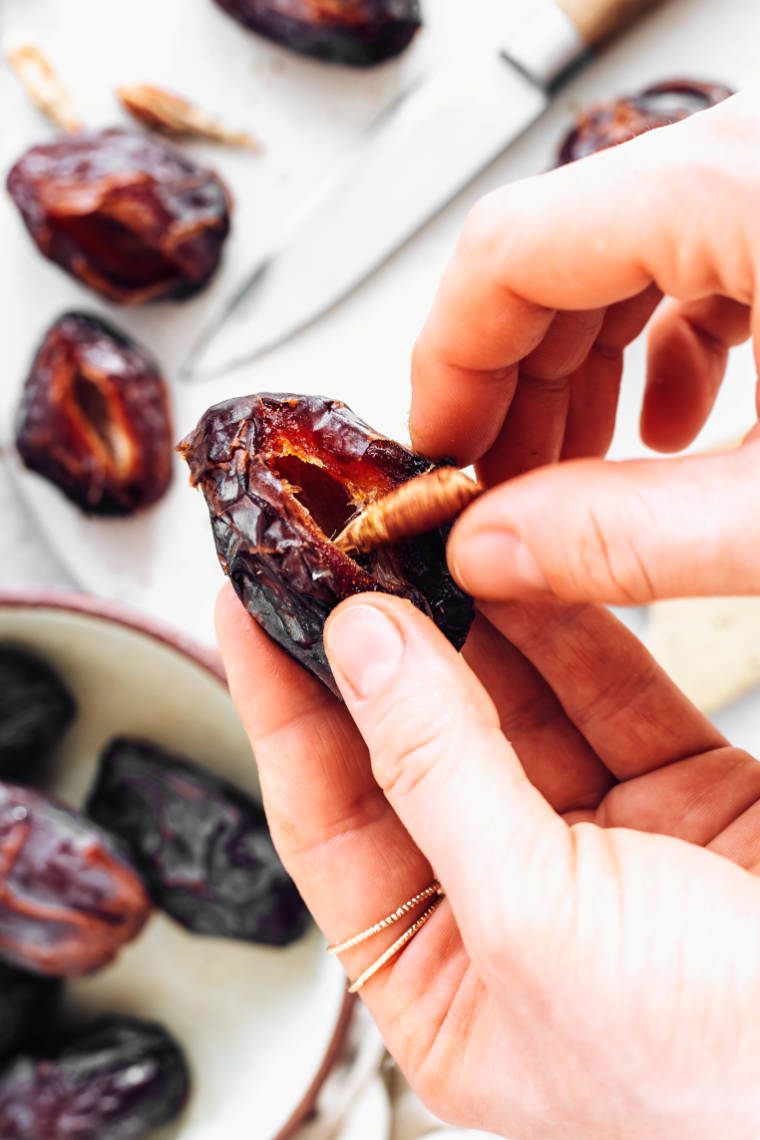
- Dates — the healthy base for our refined sugar-free bliss balls.
- Almond meal — adding some nice texture & healthy fats.
- Oats — optional but recommended for some extra chewiness.
- Almond butter — creamy, yummy, healthy! Can be replaced with any nut or seed butter.
- Cocoa powder — lots of cocoa powder, in this case!
You can find the exact amounts of each ingredient in the recipe card below. If you have any questions or are looking for possible adjustments, I’ll share more about them in a bit!
Date-Sweetened Treats →How to make chocolate bliss balls
Soak the dates
Before you start, place your pitted dates in a small bowl and cover them with hot water for around 10-15 minutes. This ensures that your food processor can create a really smooth, homogenous texture.
If you happen to have really soft and moist dates, you can skip this step.
Blend all ingredients
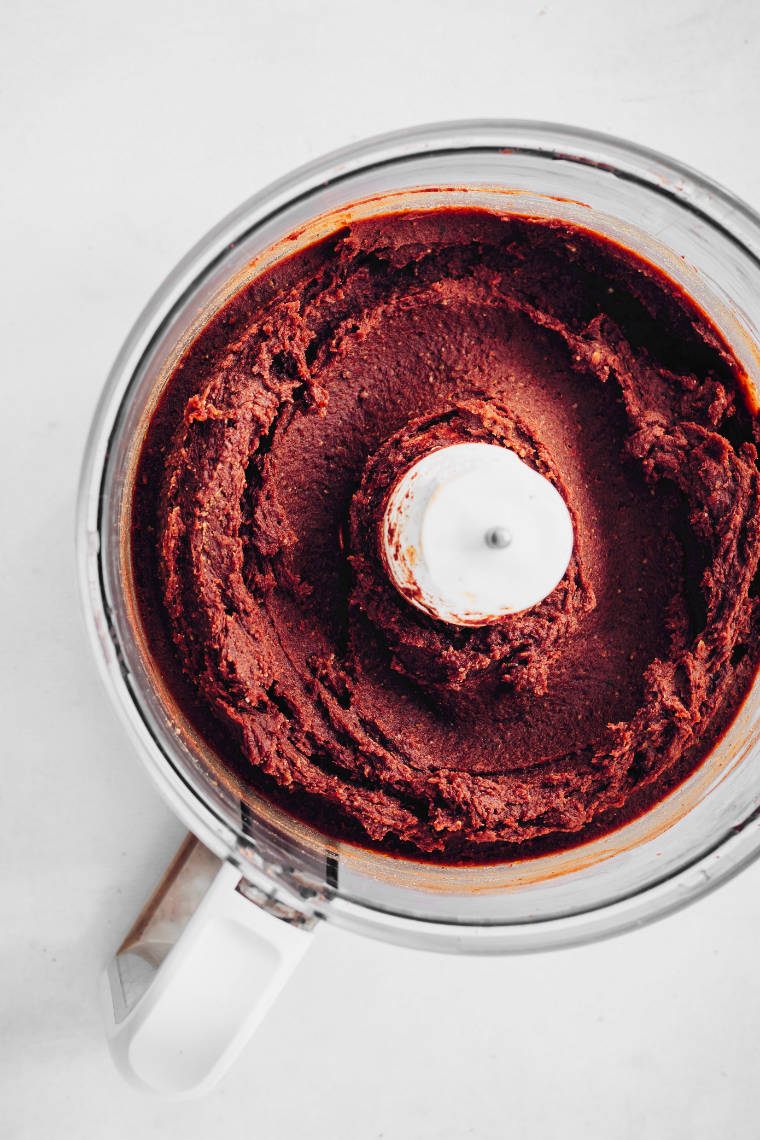
Drain the dates, then add them alongside all of the other ingredients for the chocolate bliss balls to your food processor — except for the water. Pulse a few times, then blend on low until a crumbly texture forms.
Adjust the texture
Add a splash of water if needed, then increase the speed and blend on high for 1-2 minutes until a sticky mixture forms. Be sure not to over blend or the natural oils start to be released.
Check with your fingers to see whether it’s too sticky — in this case, add more almond meal or oats.
If the texture is too crumbly and dry, add more water, plant-based milk or syrup.
Form the bliss balls
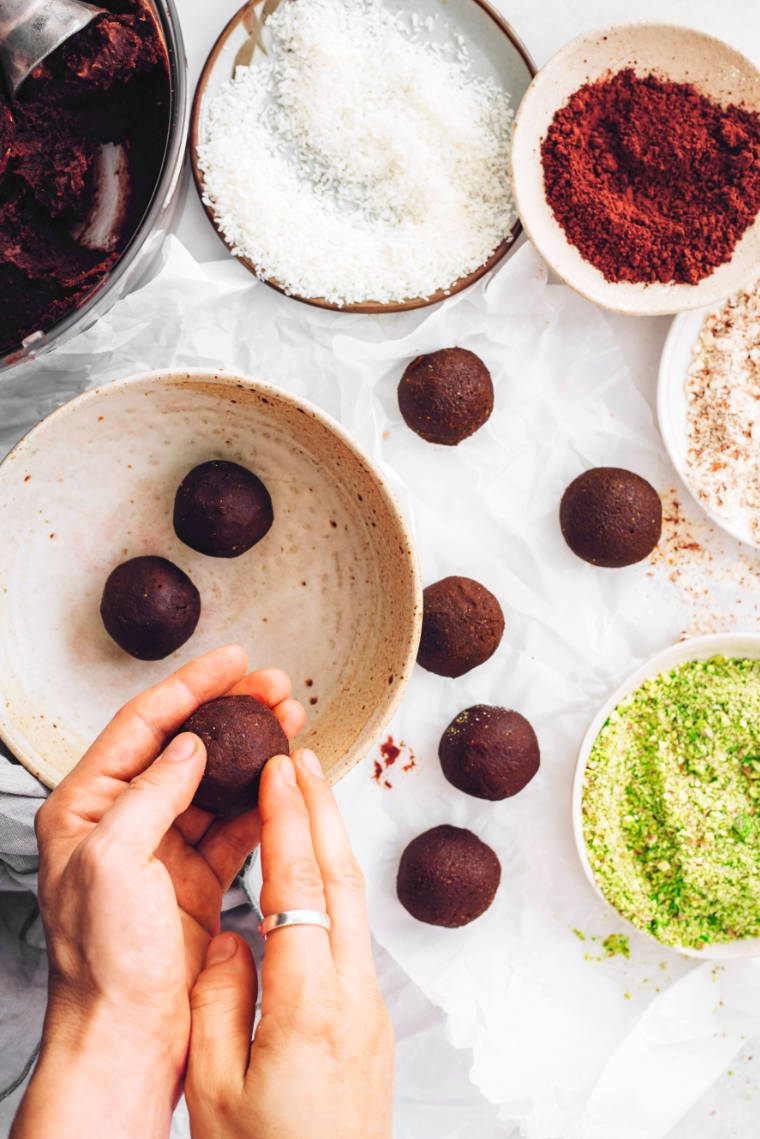
Scoop the bliss balls mixture with a spoon or use wetted hands. Roll to create little balls — you can make small, medium or large balls, depending on your preference.
Coat & enjoy
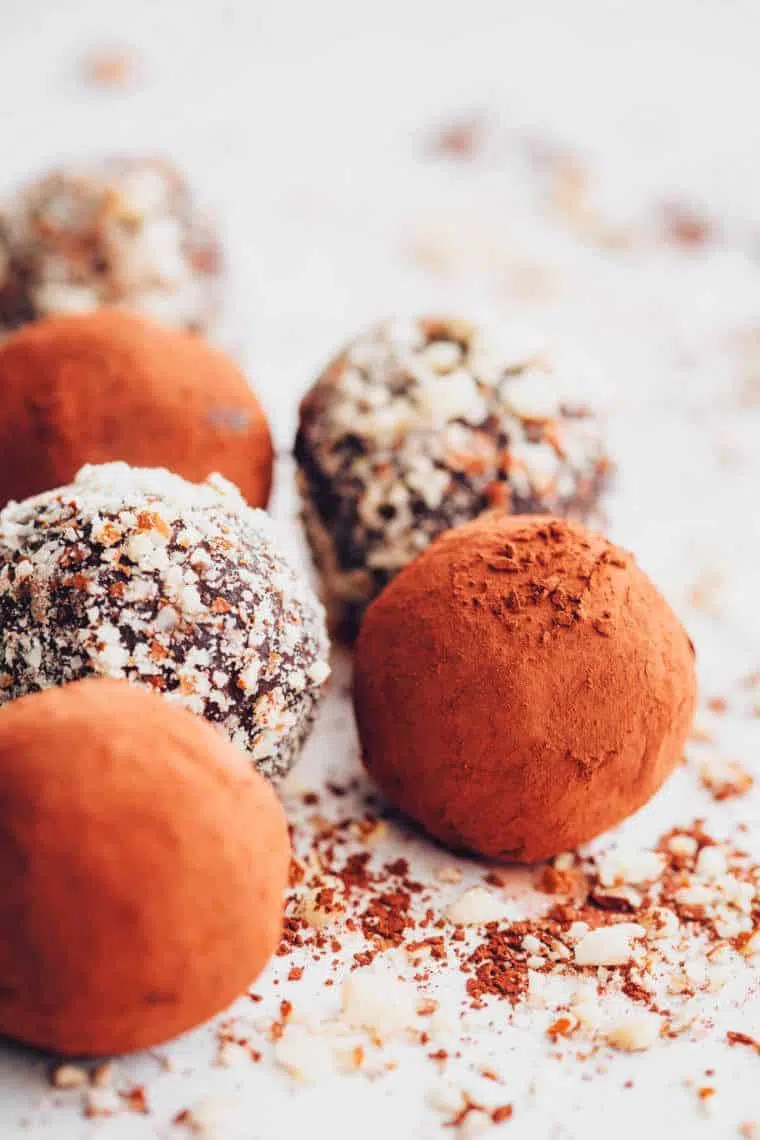
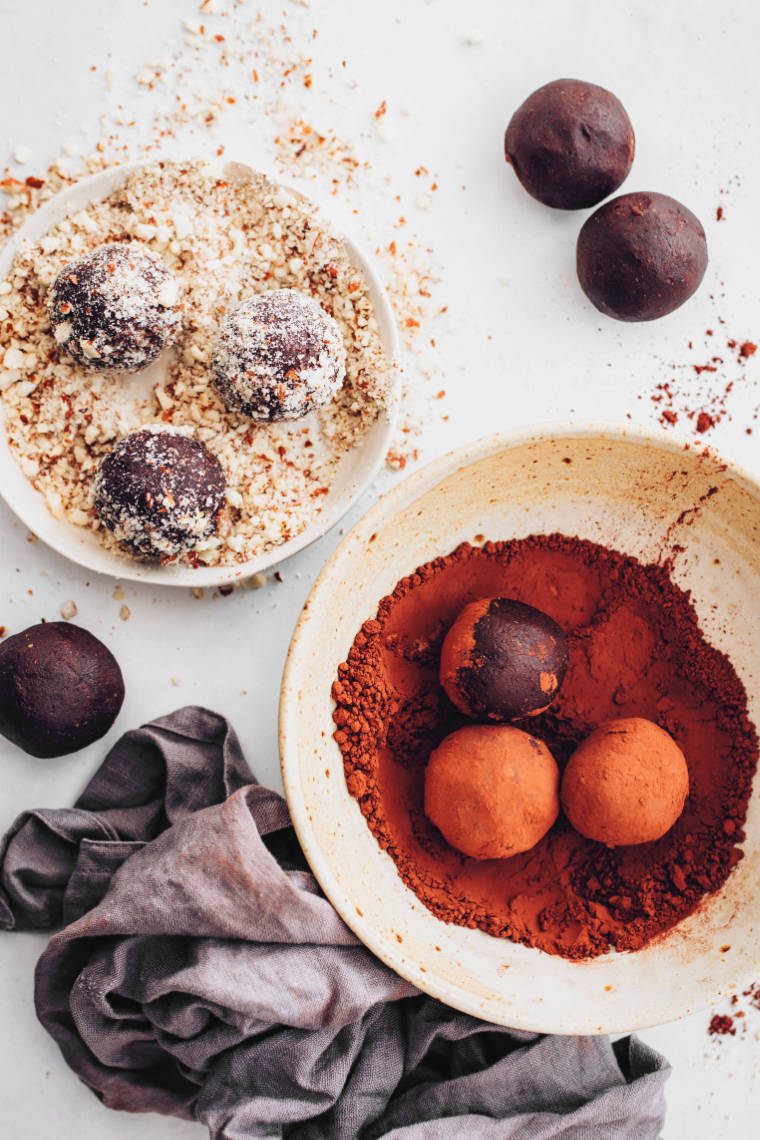
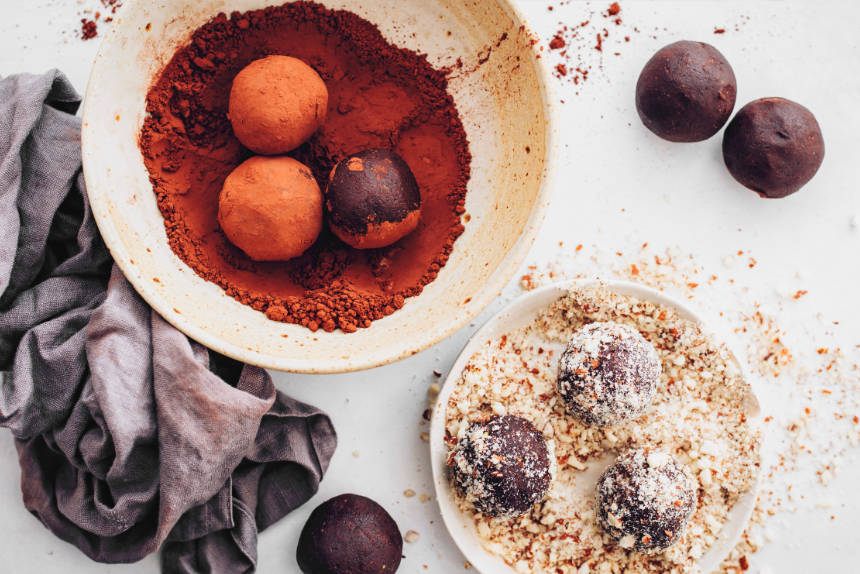
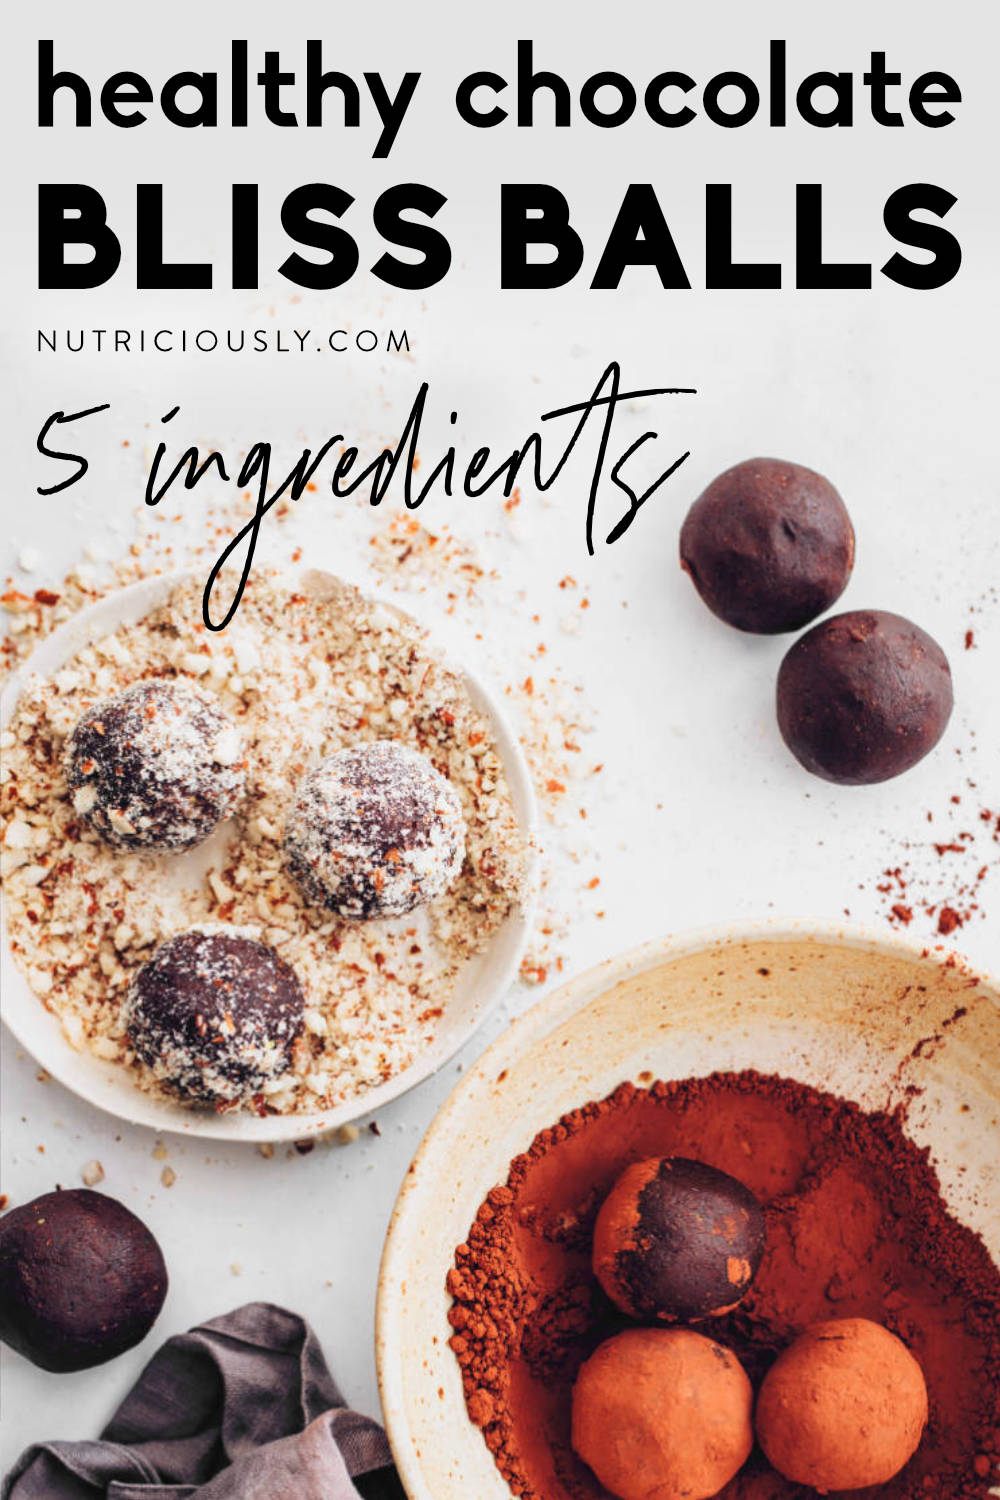
You can snack on your chocolate bliss balls right away or add some fun coatings! Our suggestions are cocoa powder and crushed almonds which you need to place in individual bowls.
Roll your formed bliss balls in either of these two bowls until evenly coated!
FAQs & tips for this recipe
Let’s go over some questions and customization ideas — if you want to learn more, check my full guide on how to make bliss balls here.
How to store chocolate bliss balls?
This recipe is super meal prep friendly, the bliss balls can be kept in an airtight container in the fridge for around 1 week or even frozen for 2-3 months! Let them thaw in the fridge or on the counter before eating.
However, our chocolate bliss balls can also be kept at room temperature for a few hours at a time if you want to bring them with you.
Can I make this grain-free?
Sure, simply skip the oats and use more almond meal instead.
What if I can’t have almonds?
This chocolate bliss balls recipe is great for ingredient swapping: just use another nut butter and swap the almond meal for the same amount of oat flour.
Why use dates instead of syrup?
Dates create a fantastic texture and add some vitamins and minerals to your sweet treats. If they are hard to find or too expensive, you can use around ½ cup of maple syrup instead (give or take a bit, depending on your sweet tooth) — be aware that the texture will be different, though.
Do I need a food processor?
Bliss balls are a typical use case for food processors but if you only have a high-speed blender, you can still make this recipe. We found that the texture turns out a bit differently and the bliss ball mixture is harder to get out of a blender jar.
Any flavor ideas?
Sure, you can add some chocolate chips for extra chocolatey bliss balls and coat or drizzle them with melted dark chocolate.
We also like adding some espresso powder, cinnamon or shredded coconut to these bliss balls.
More Chocolate Treats →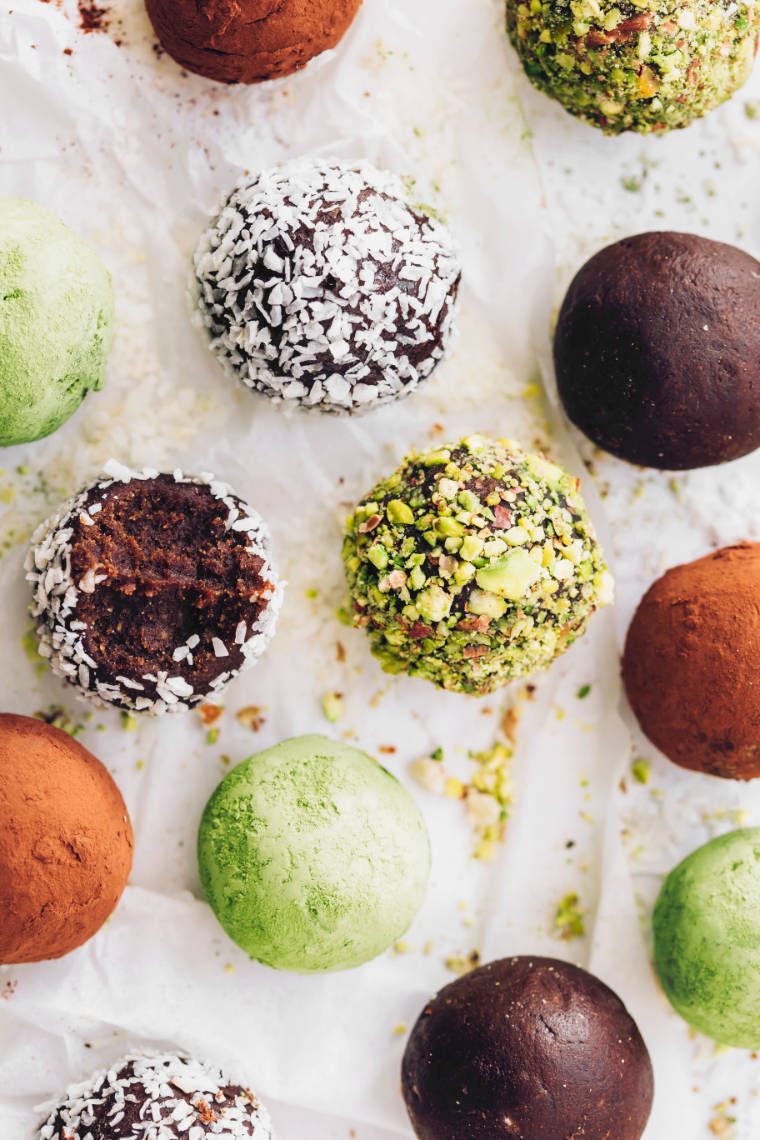
How to make protein bliss balls
You can replace the almond butter with peanut butter and add 1 scoop of vegan protein powder to your chocolate bliss balls to increase the plant-based protein content! In the latter case, be sure to add a splash of soy milk (even more protein!) to get the right texture.
Some hemp or chia seeds may also bump the protein content!
More vegan snack recipes
If healthy and portable vegan snacks are your jam, check out the following goodness next!
Did you make our vegan chocolate bliss balls? We’d love to read about it, so be sure to leave a review and tell us more in the comments below. You can also Pin this recipe here!

 Alena Schowalter is a Certified Vegan Nutritionist who has been a vegetarian since childhood and vegan since 2012. Together with her husband, she founded nutriciously in 2015 and has been guiding thousands of people through different transition stages towards a healthy plant-based diet. She’s received training in the fields of nutrition, music therapy and social work. Alena enjoys discussions around vegan ethics, walks through nature and creating new recipes.
These healthy chocolate bliss balls are easy homemade treats for the whole family! Super meal prep friendly and versatile, they are created within just a few minutes and guaranteed to satisfy any intense chocolate cravings.