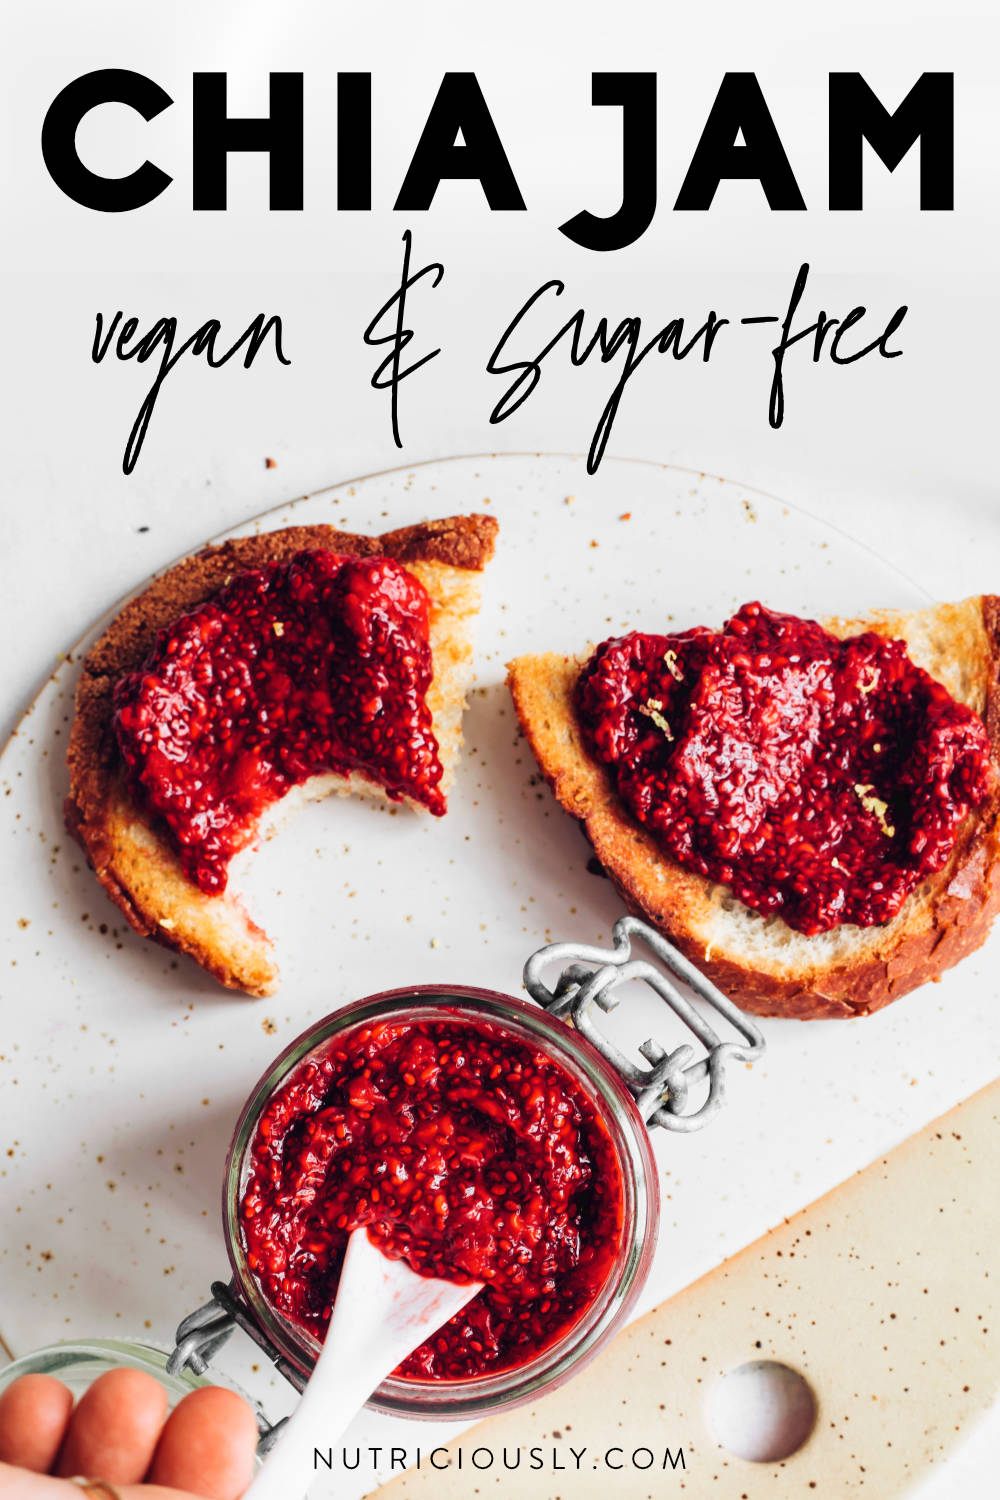
Try our 3-ingredient sugar-free berry chia jam that’s super easy to make and really customizable! Ready to spread after 10 minutes or even quicker as a raw jam, this easy vegan recipe is both healthy and delicious.
If you haven’t worked with chia seeds in the kitchen, let us assure you: they are like magic.
They allow for quick vegan puddings and if you make berry chia jam out of them, the texture won’t be funky at all!

free 7-day vegan meal plan
Your next week of eating is planned out with these quick and delicious vegan bowls, meal prepping steps & full grocery list.
Now, this is how you turn a delicious spread into a sugar-free and super healthy topping for your crunchy vegan toast!
Since our sugar-free banana bread with raspberry chia swirl has become so popular, we knew we had to share how easy it is to make your own berry chia jam!
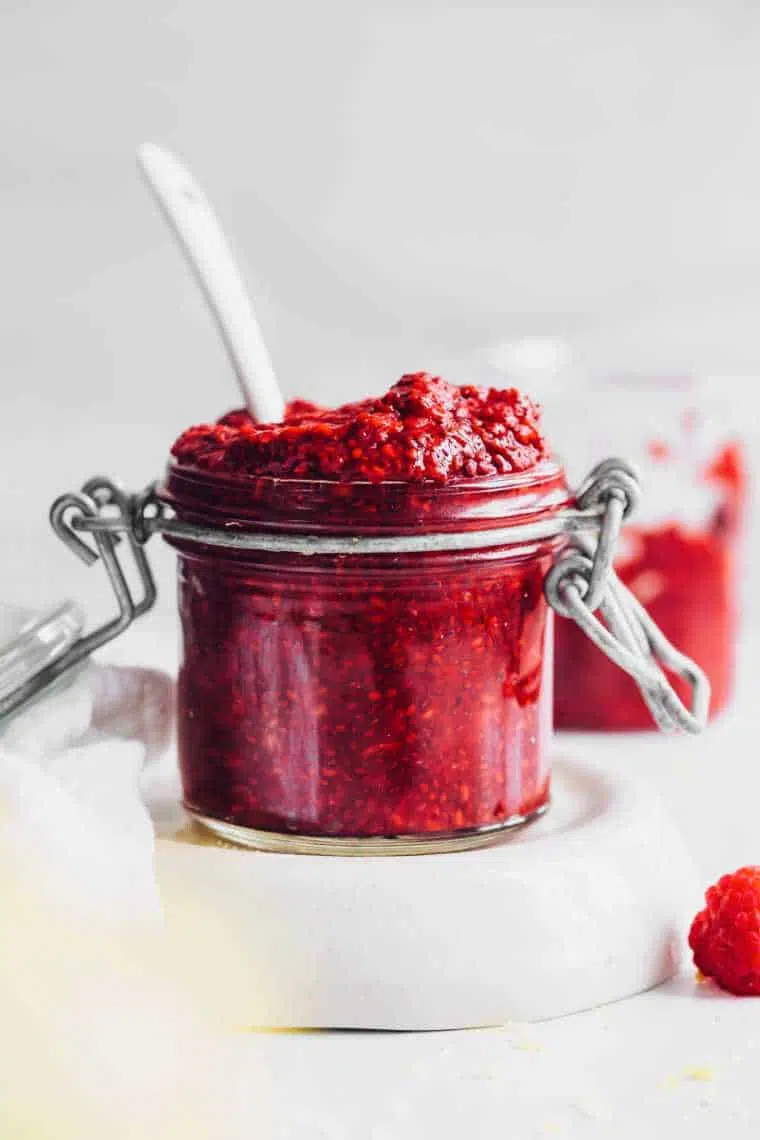
Look at the recipe
- Refined sugar-free & vegan
- No canning required
- 2-3 ingredients needed
- Tastes like real fruit
- Flavorful and customizable
- Easy to make in 10 minutes
- Kid-friendly and nutrient-packed
While traditional raspberry jam recipes or store-bought varieties contain huge amounts of sugar for thickening and taste, our healthified version is sweetened only with fruit and gets its lovely consistency from the chia seeds.
Plus, you only need a saucepan, stove and spoon to make this easy berry chia jam! We’ll also share an even simpler and quicker no-cook version with you below.
Here’s what goes inside!
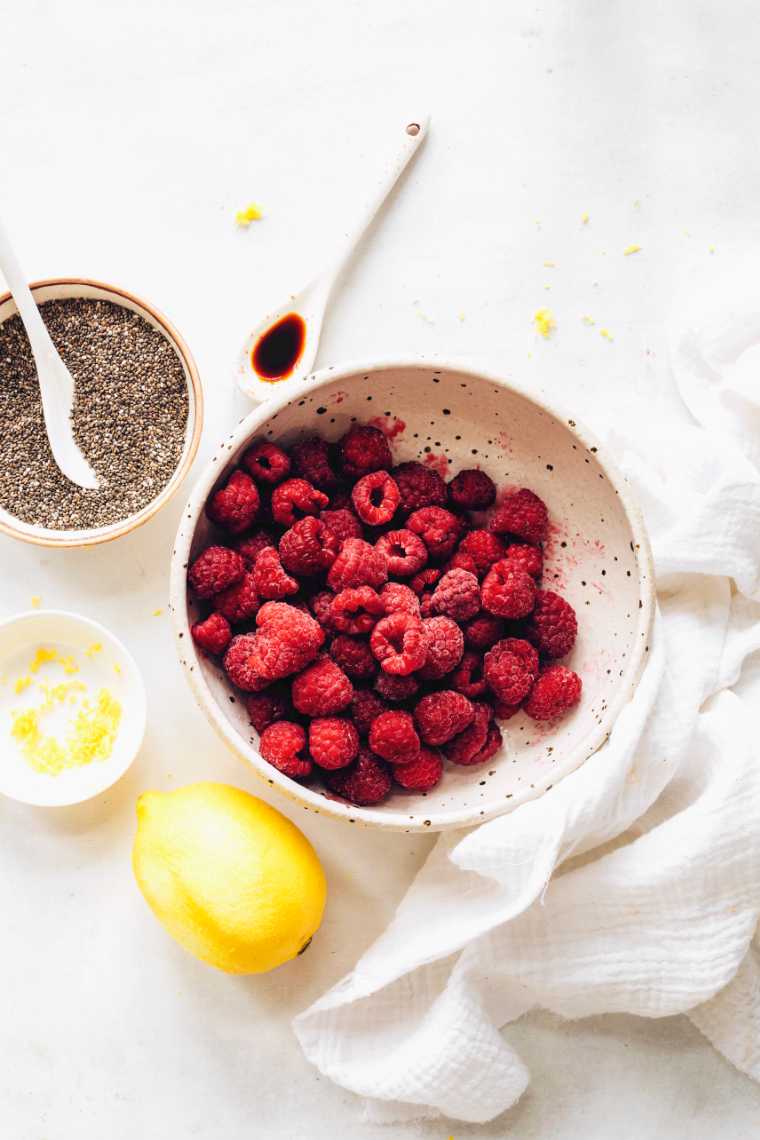
Ingredients needed
- Berries — pretty much any variety or mix can be used; we went for raspberries because that’s what we had in our freezer.
- Chia seeds — they thicken our berry jam without any added sugar & are full of essential nutrients!
- Vanilla extract — they support the natural sweetness of the berries; if you want, you can add a spritz of syrup or sprinkle of sugar should the berries on their own be too tart.
- Lemon zest — this one is totally optional but we really like it.
You can find the exact amounts in the recipe card below. If you have any questions about these ingredients and possible adjustments, I’ll share more about them in a bit!
Here’s how easy it is to make berry chia jam.
How to make berry chia jam
Cook the berries
Use either fresh or frozen berries of your choice and put them into a saucepan. Heat them over medium-high heat until the fruit starts to break down as it warms up.
Give the berries an occasional stir and mash with either a spoon, fork or potato masher until the desired consistency is reached — either a bit chunky or super smooth.
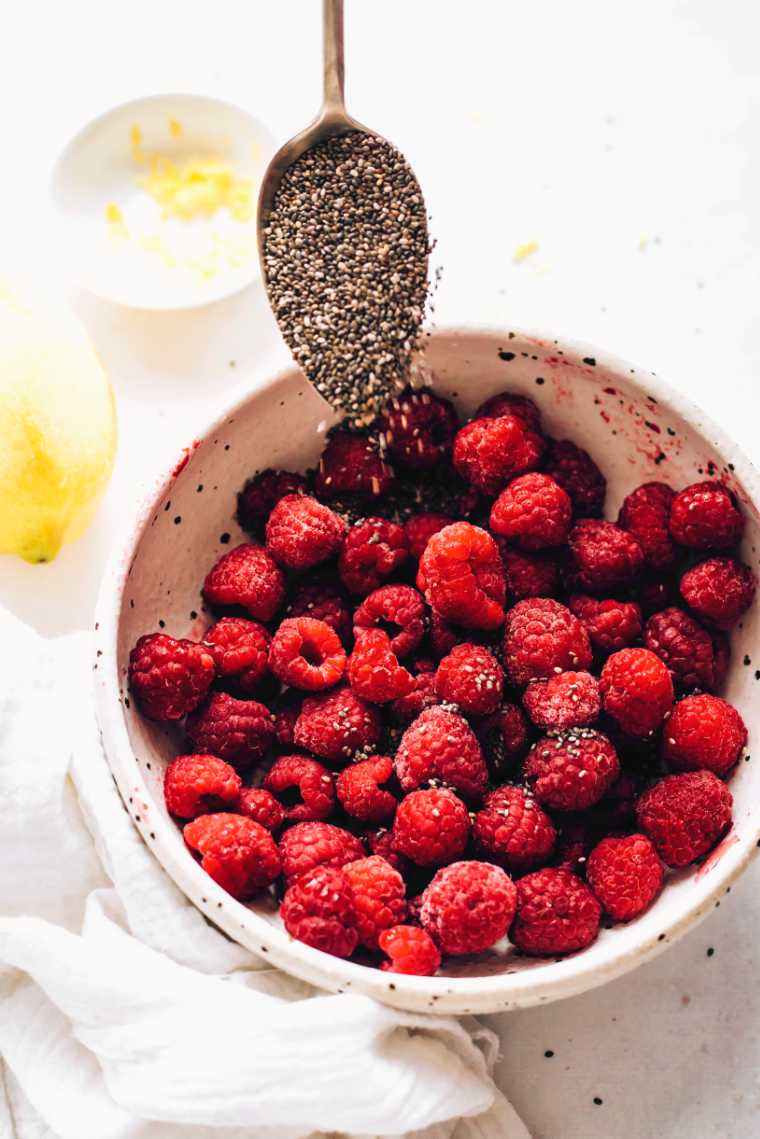
Add the chia seeds
Stir in 2 tablespoons of chia seeds until well-combined. Make sure they don’t stick together but are all coated with some berry liquid.
This is necessary so they can create the gel-like texture we’re looking for!
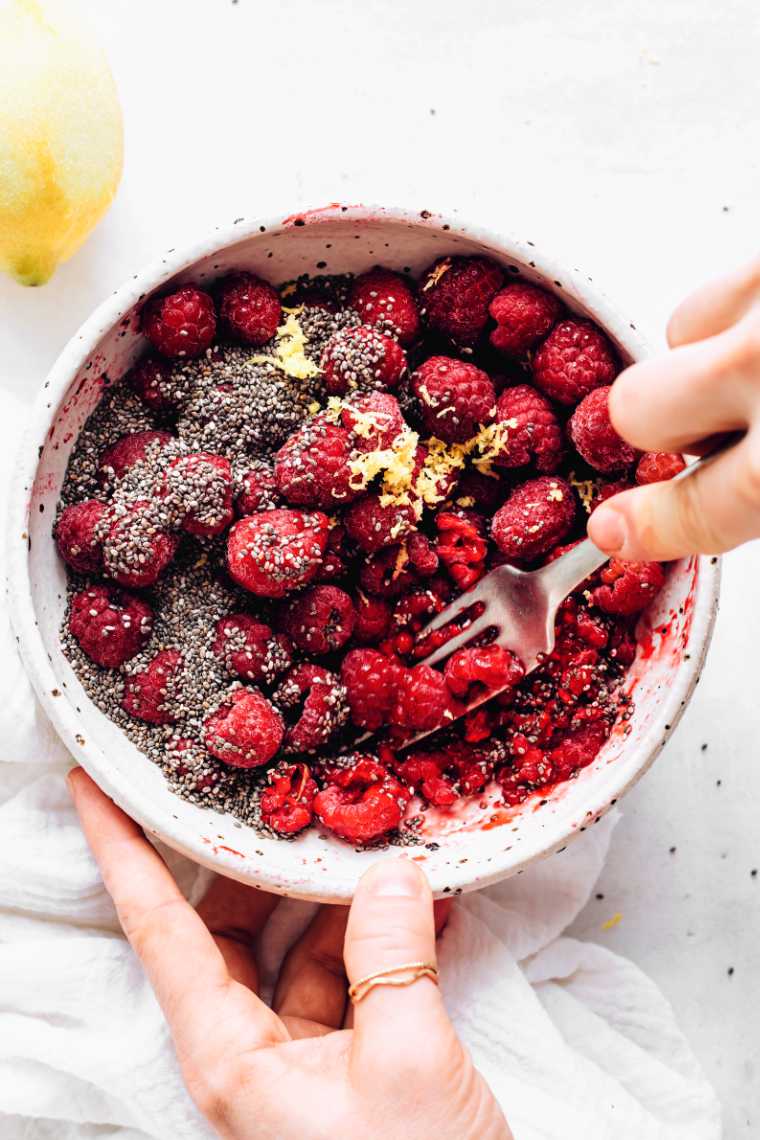
Add & adjust flavor
Now it’s time to add the vanilla extract and lemon zest as well as any other flavor ideas you may have! Remove the saucepan from heat and give the berry jam a good stir.
Be sure not to wait for too long because the chia seeds can quickly start to thicken!
If the chia jam isn’t sweet enough for your liking, add any syrup or sugar you have in your kitchen. We suggest you start with 1-2 tsp and work your way up.
Depending on what berries you use for your jam, the amount of added sweetener can vary.
Rest & enjoy
Once your berry chia jam has been cooked and flavored, let it sit in the saucepan for 5 minutes to cool.
Then transfer into a sealed container and store in the fridge where it will become thicker over the next hour or enjoy immediately.
Storage & serving suggestions
This berry chia jam can be stored in a lidded container or glass jar for about 1 week in the fridge. It can also be frozen for 3 months or longer!
Defrost in your fridge for a few hours at your convenience, then enjoy in a plethora of ways which we’ll share now.
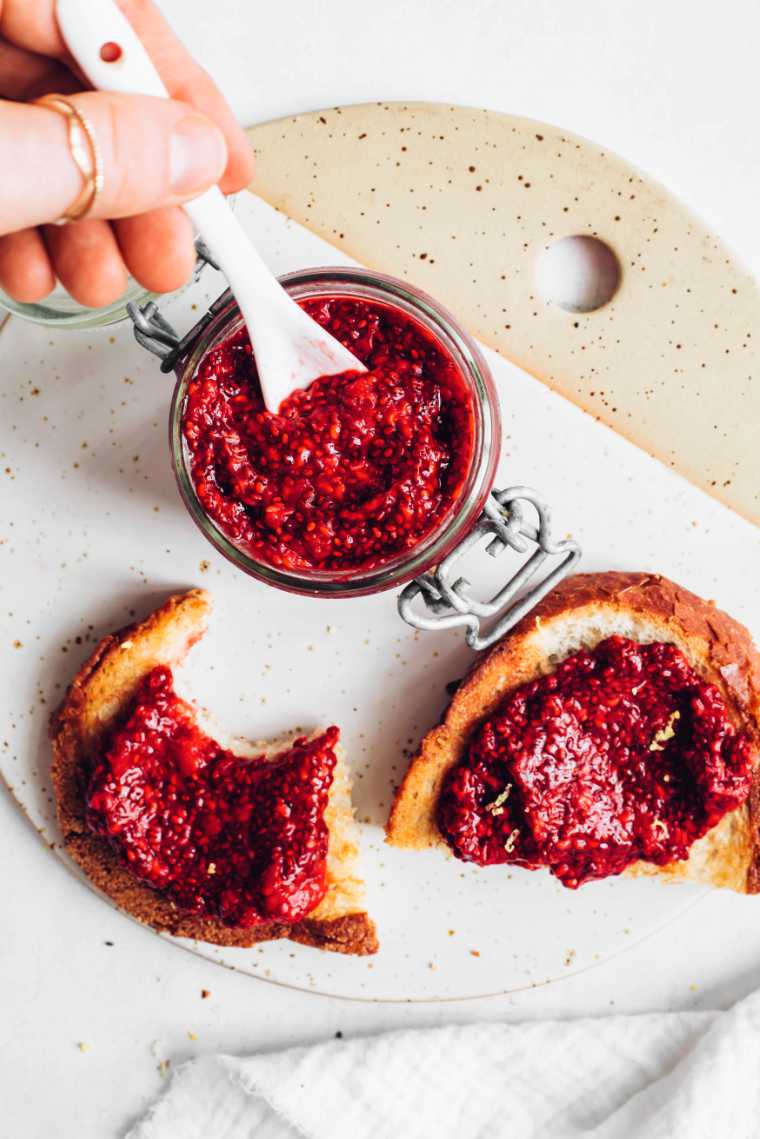
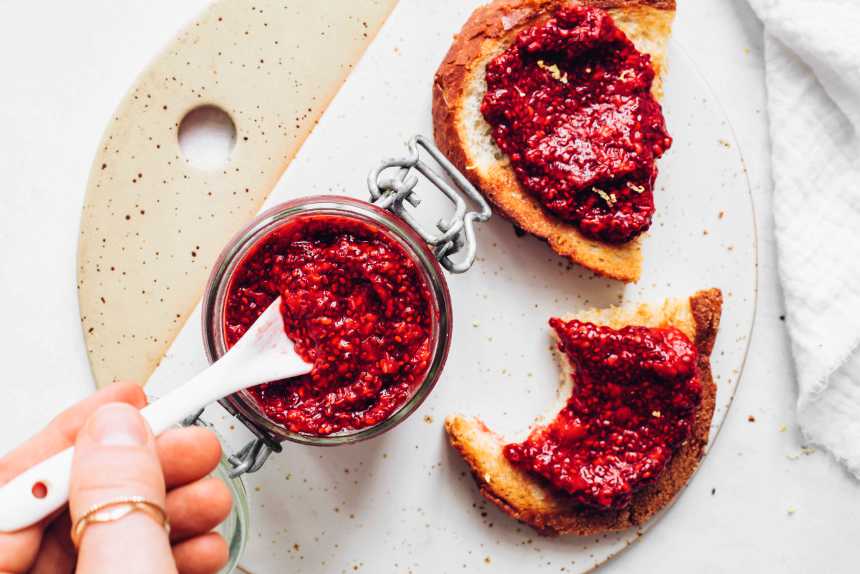
First of all, you need to try it on some freshly baked and crusty bread! We also like it with some rice cakes or in a peanut butter and jam sandwich.
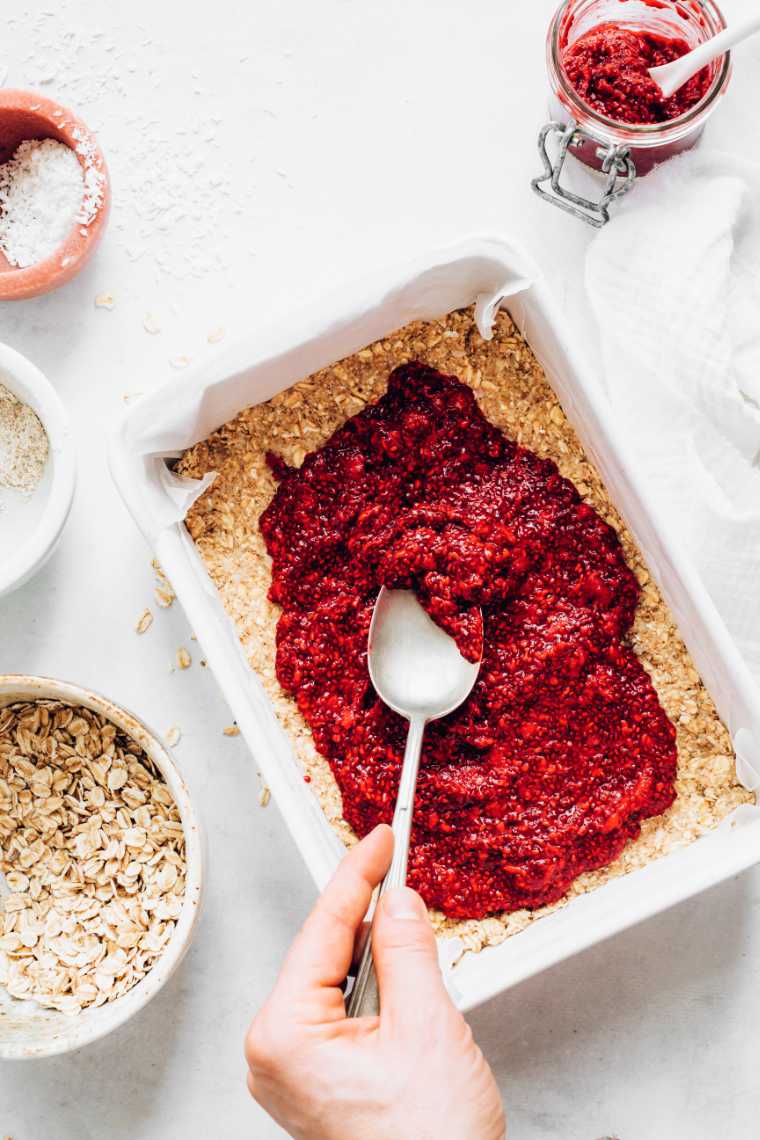
You can use this berry chia jam for baking sugar-free flapjacks, vegan banana bread or gluten-free muffins!
Add it to your yogurt and granola parfait or just stir it into some almond yogurt. Additionally, this berry chia jam can be blended into smoothies or swirled into ice cream.
We’ve also topped our smoothie bowls, overnight oats and waffles with it and served it on our vegan appetizer platter alongside this vegan cheese ball!
Tips & FAQs
Can you make jam with frozen fruit?
Yes, when it comes to our homemade berry chia jam for sure! Frozen berries will be even easier to break down with a spoon once heated and they are super convenient since you can store them for a long time in your freezer.
What sweeteners can I add?
If using only tart berries like raspberries to make chia jam, you might want to add 2 teaspoons (or more) of maple syrup, rice syrup, agave, coconut sugar, brown sugar or just plain white sugar.
You can also use sugar substitutes like xylitol, erythritol or stevia for this jam but these offer a different kind of sweetness.
Which berries can be used for this chia jam
Really any berries work: raspberries, strawberries, blackberries, blueberries but also cherries or plums.
All juicy fruit, including kiwi, peaches, apricots, mango or pineapple can be made into chia jam! Some need to be processed with a blender for a smooth result, though.
What are more flavor ideas?
Add some coconut water, desiccated coconuts, orange zest, orange juice, apple juice or a plethora of spices to your homemade chia jam!
The sky’s the limit, you can try cinnamon, ginger, cloves, nutmeg or even chili, lavender, coriander, rosemary and mint for more variety.
How to make no-cook berry chia jam
Add the fresh or defrosted raspberries along with the rest of the ingredients to a bowl and give it a good stir. You can also give them a quick blend in your blender for a smooth chia jam!
Transfer the mixture into a sealed container and place in the fridge for about an hour. This will be enough time for the chia seeds to thicken and create a lovely jam!
More vegan condiment ideas
If you like this sugar-free berry chia jam, here are some more recipes that’ll make your meals taste fantastic!
Did you make our berry chia jam? We’d love to read about it, so be sure to leave a review and tell us more in the comments below. You can also Pin this recipe here!
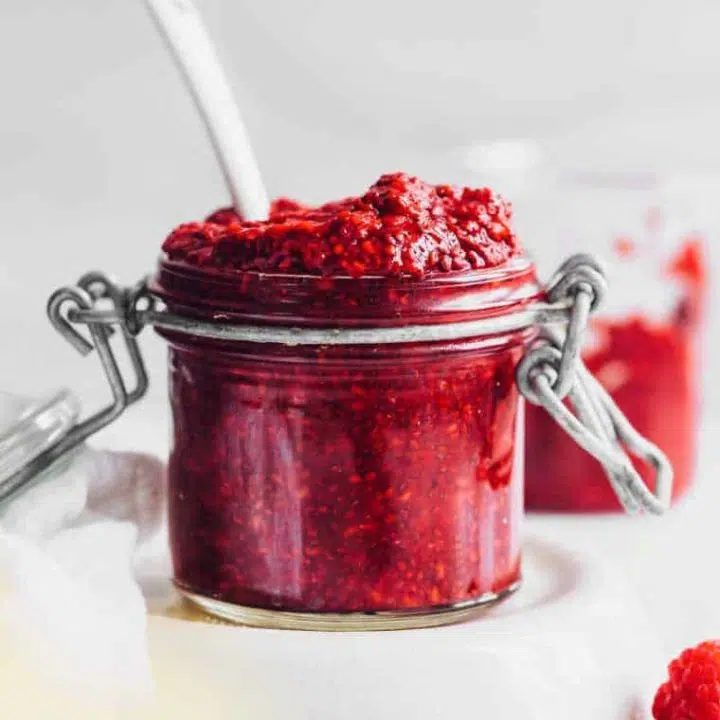
Berry Chia Jam (Sugar-Free)
Try our 3-ingredient sugar-free berry chia jam that’s super easy to make and really customizable! Ready to spread after 10 minutes or even quicker as a raw jam, this easy vegan recipe is both healthy and delicious. Great on toast, waffles and for baking!
Ingredients
- 1½ cups raspberries, fresh or frozen (6.5 oz, 185 g)
- 2 tbsp chia seeds
- 1 tsp vanilla extract
- 1 tsp lemon zest (optional)
Instructions
- Put the raspberries in a small saucepan and heat over medium-high heat. Stir occasionally with a spoon until the berries are heated through and begin to break down.
- Using a fork, mash as much of the berries as you like to either create a more smooth or chunky chia jam.
- Stir in the chia seeds, vanilla extract, and lemon zest until well-combined. Give it a quick taste test and if your berry chia jam is not sweet enough for your liking, add a dash of maple syrup or some brown sugar (starting with 1-2 tsp).
- Remove the saucepan from heat and let your chia mixture cool for 5 minutes, then give it one final stir. This allows all chia seeds to absorb some of the berry liquid and turn into a nice gel over time.
- Transfer your homemade jam into a sealed container or glass jar and store it in the fridge for up to 1 week. This berry chia jam can also be frozen for 3 months!
- You can also enjoy it immediately with some bread, use for baking or top your breakfast bowl with it!
Notes
- You can add some syrup (maple, agave, rice) or even apple juice for sweetening! Plain white, brown or coconut sugar work as well.
- Add some stevia drops or xylitol for sugar-free sweetening.
- Any berries, including blackberries, blueberries or strawberries as well as other juicy fruit work for this chia jam recipe
- Make a no-cook and raw chia jam by following the instruction in our article!
Nutrition Information:
Yield: 4 Serving Size: ¼ cupAmount Per Serving: Calories: 33Total Fat: 2gSaturated Fat: 0gTrans Fat: 0gUnsaturated Fat: 2gCholesterol: 0mgSodium: 1mgCarbohydrates: 3gFiber: 2gSugar: 0gProtein: 1g
Nutrition information is a rough estimate calculated automatically, their accuracy is not guaranteed. Just focus on whole plant-based foods and eat until satiety!


 Alena Schowalter is a Certified Vegan Nutritionist who has been a vegetarian since childhood and vegan since 2012. Together with her husband, she founded nutriciously in 2015 and has been guiding thousands of people through different transition stages towards a healthy plant-based diet. She’s received training in the fields of nutrition, music therapy and social work. Alena enjoys discussions around vegan ethics, walks through nature and creating new recipes.
Do you think you could use rhubarb? It would be tart but what do you think?
great question, never made this recipe with rhubarb but I assume you’d need to add some sugar or syrup, yes!
I’ve taken to lightly grinding my chia seeds in a spice grinder to alleviate the seeds-in-the-teeth look and to gain the most benefit from the nutrients since I read they are like flax seeds in that if you don’t break the hull with your teeth, they will pass through you undigested. At any rate, I keep a jar in my freezer and use ground chia seeds to thicken a lot of foods I make. Works like a charm. Thanks for this addition to my “ways to include chia” in my diet.
Can this jam be canned? Thanks!!
-Michelle
I haven’t tried it but if you cook the jam, I don’t see why not :) Let us know if you try canning it! x