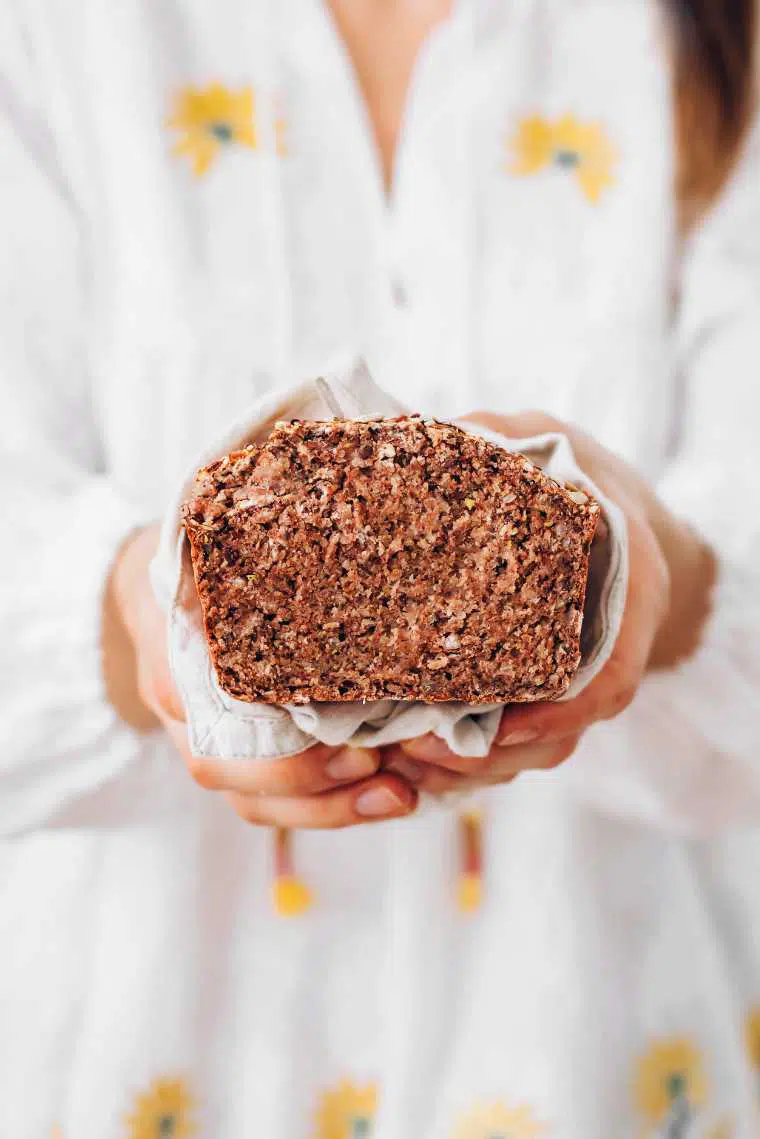
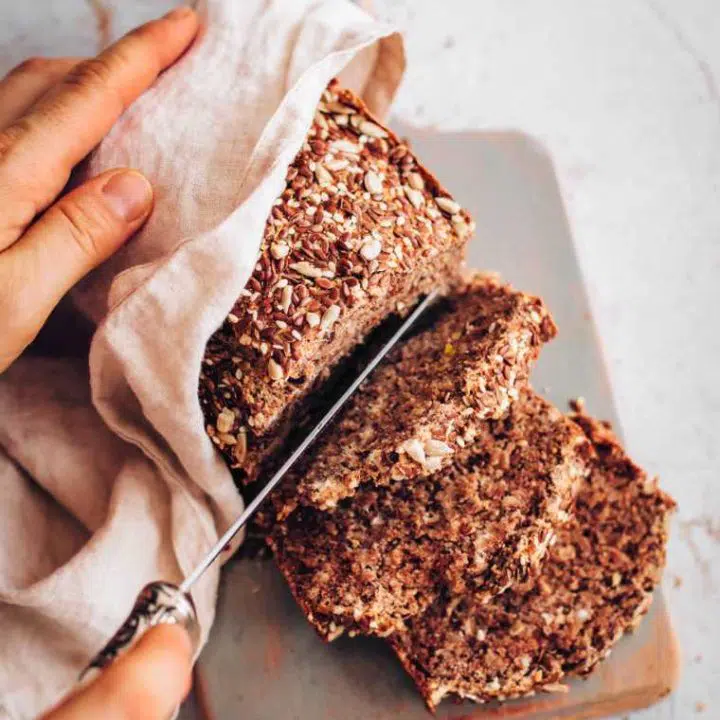
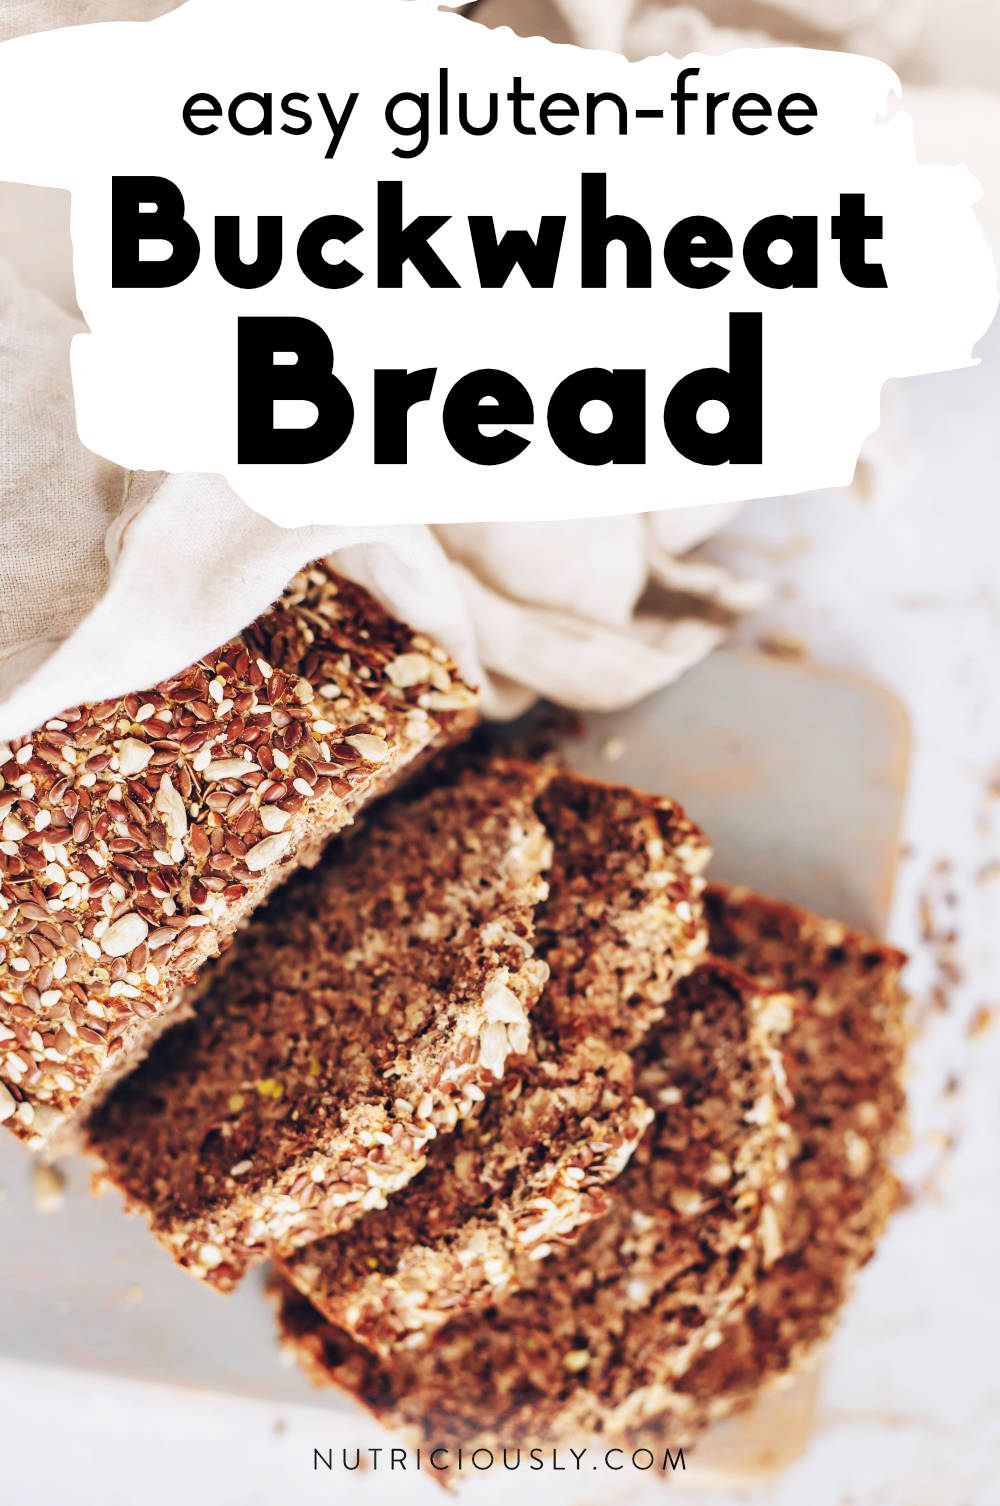
The easiest and best buckwheat bread with crispy edges and a deliciously nutty flavor. This gluten-free savory loaf slices well, doesn’t require any kneading, yeast or bread machine and is so nutritious!
This hearty and savory buckwheat bread is made from simple pantry staples in only 10 minutes of hands-on time and is a really easy baking recipe.
No yeast, no bread machine, and no animal products are required — just a handful of simple and healthy ingredients!

free 7-day vegan meal plan
Your next week of eating is planned out with these quick and delicious vegan bowls, meal prepping steps & full grocery list.
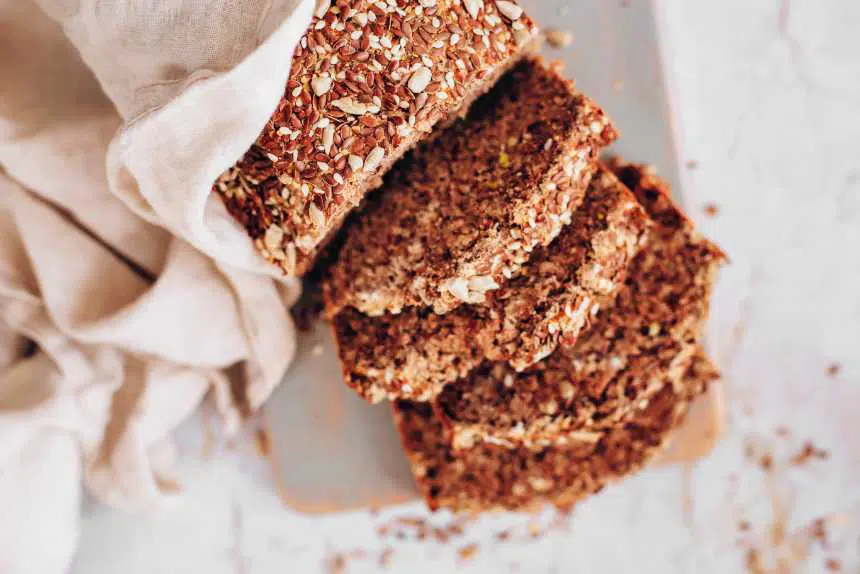
Crispy on the outside, chewy, seeded and flavorful, you can serve it for breakfast, lunch or dinner with your favorite spreads or fixings! It’s a delicious base for healthy vegan grilled cheese.
We’ve tried many vegan bread recipes over the years, and this buckwheat bread is on repeat in our kitchen. If you love baking as much as we do, try our banana bread and cornbread next!
Recipe overview
- Nutty, flavorful, and savory
- Accessible ingredients, no buckwheat flour needed
- Contains calcium & omega-3
- Egg-free & yeast-free
- Super nutritious, soft & crispy on the outside
- Slices well & isn’t crumbly
- Only one bowl and a food processor needed
Despite its name, buckwheat doesn’t actually contain any wheat. It’s naturally gluten-free and nutrient-packed with fiber, complex carbs, minerals, and plant-based protein!
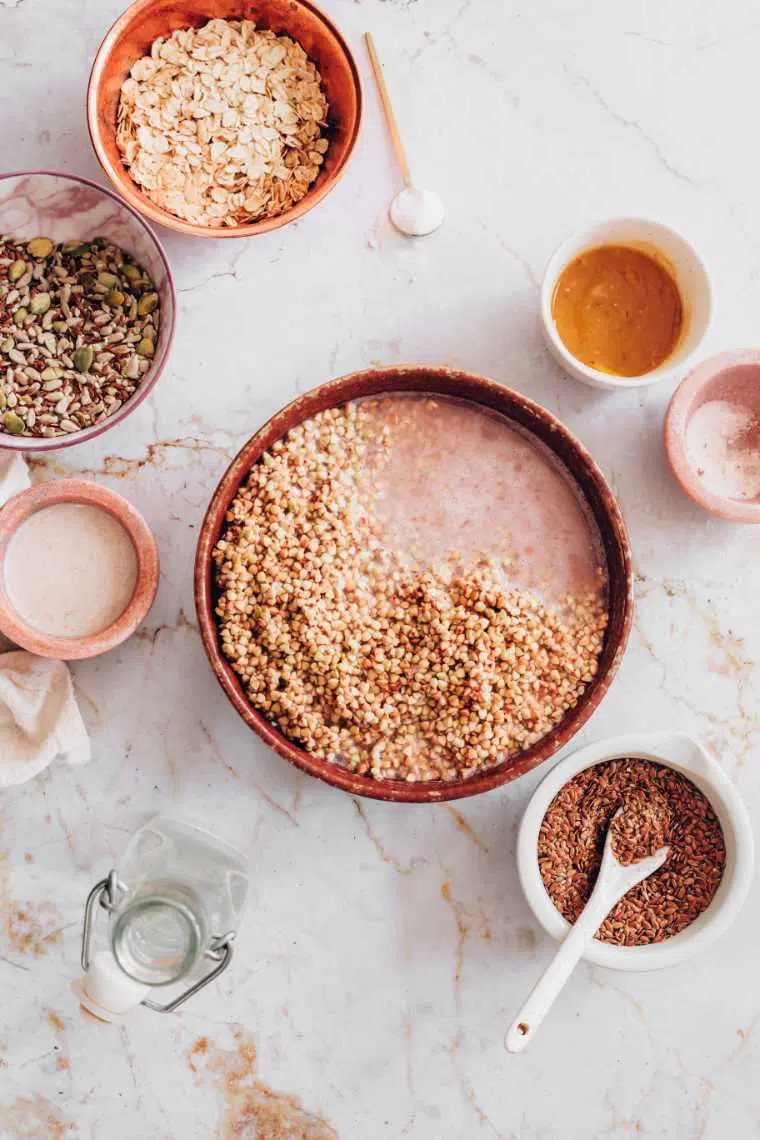
Ingredients needed
- Buckwheat groats — soaked in water for a few hours or overnight, then processed into batter.
- Rolled oats — can be skipped or doubled depending on your desired taste and consistency!
- Flaxseeds — budget-friendly egg replacement.
- Applesauce — our favorite oil replacement to hold moisture when baking!
- Tahini — healthy fats and calcium; adds nutty flavor & texture.
- Baking powder — yeast-free raising agent.
- Toppings — sesame, sunflower, flax, rolled oats, whatever you like!
Find the exact amount of each component in the recipe card below.
Only basic kitchen tools are required to make this buckwheat bread — no bread machine. A large mixing bowl, food processor, loaf pan, parchment paper and measuring equipment are all you need.
How to make buckwheat bread
- Soak the buckwheat groats and flaxseeds in water for at least two hours, better overnight.
- Drain the water and blend the soaked groats with 1 cup of fresh water.
- Pour into a clean bowl and cover with a towel. Place the bowl at room temperature for 12-24 to allow fermentation.
- Preheat your oven and prepare a loaf pan.
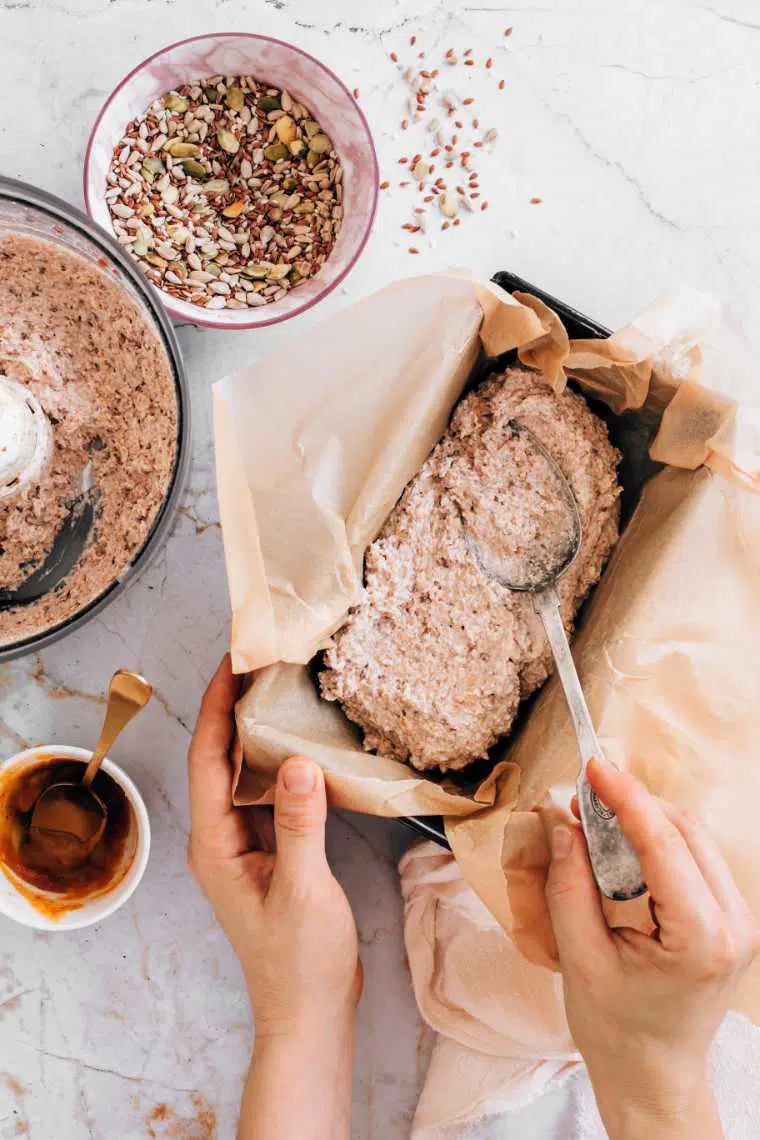
- Gently fold the rest of the ingredients into the fermented dough: ground oats, flaxseeds, applesauce, tahini, baking powder, and salt.
- Transfer into your loaf pan, flatten with a spoon and brush with some applesauce or aquafaba.
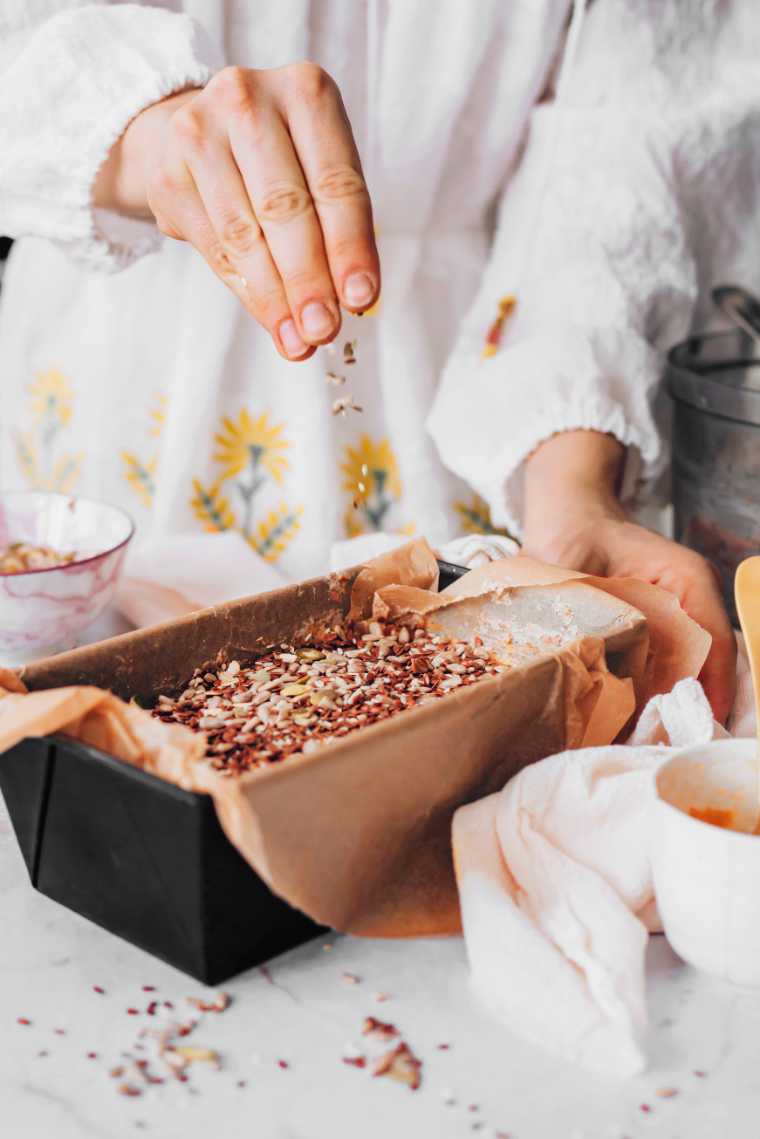
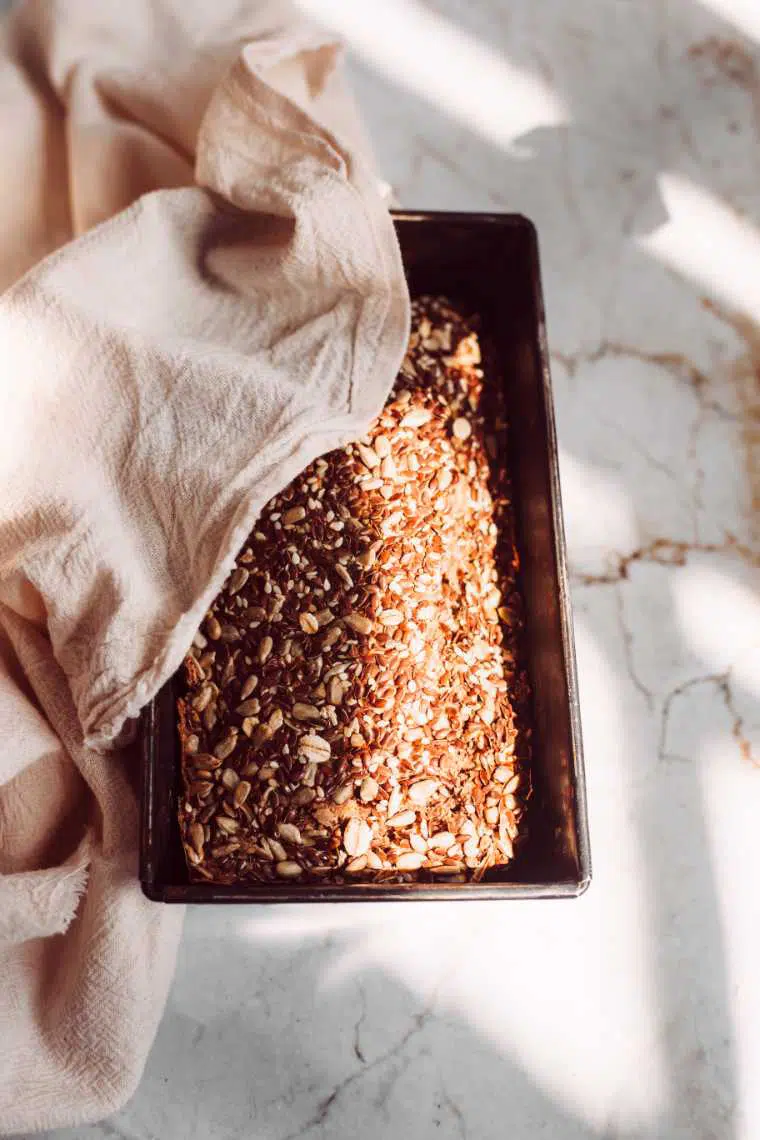
- Top with seeds, then place in the preheated oven.
- Bake for 90 minutes, then remove and set aside for 10 minutes to cool.
- Remove from the pan and let your buckwheat bread cool completely before slicing!
Storage
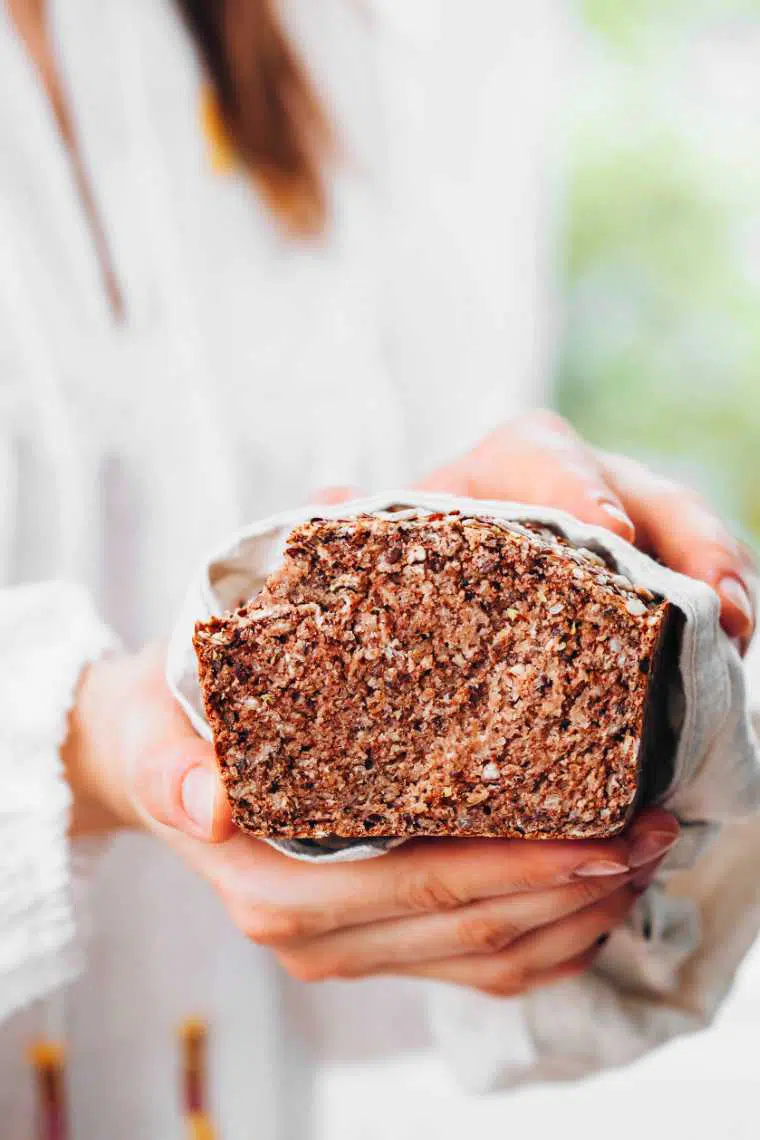
This buckwheat bread tastes best fresh out of the oven but it keeps well in the fridge for up to a week and can be toasted at your convenience.
If you want to freeze it, slice it first and then put parchment paper in between the slices so you can take them out individually. This buckwheat bread can be frozen in a storage bag or container for a few months.
Serving suggestions
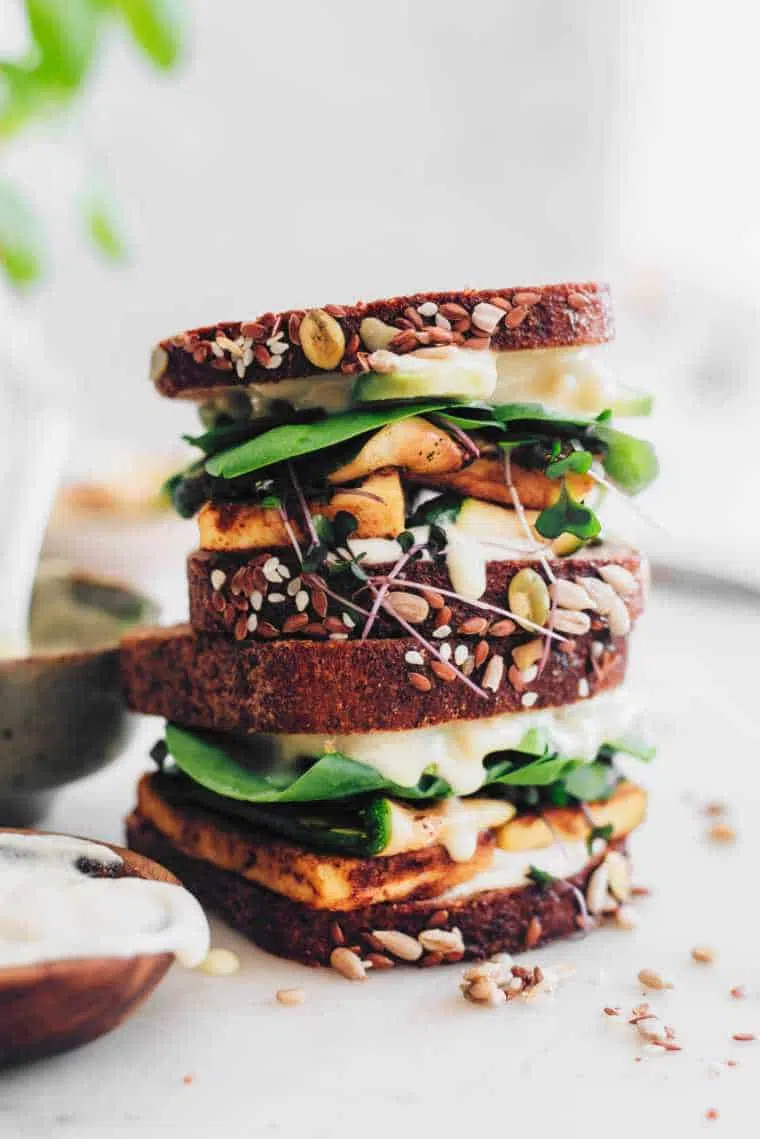
We love this hearty buckwheat bread with different spreads from nut butter to berry jam, green hummus, smashed avocado or beet dip. Try it with vegan soup or made into vegan sandwiches!
It’s also tasty with some almond cheese or alongside roast pumpkin feta salad. Here are more combinations!
- Sauteed mushrooms & spinach
- Avocado and tomato
- Almond ricotta and cucumber
- Smashed beans
- Mango chutney and greens
- Pickled beetroot and hummus
- Mushroom pâté with roasted red peppers
- Smoked tofu, tomato, lettuce and cashew mayo
Tips & FAQs
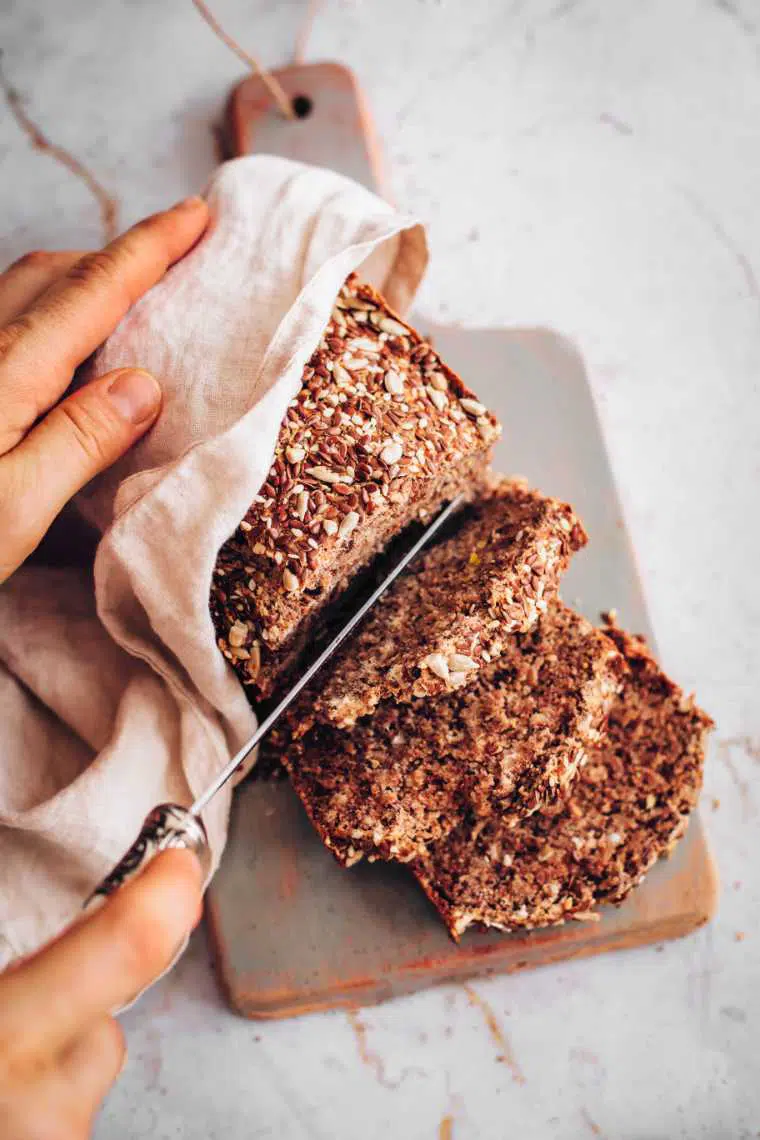
- Let your buckwheat bread cool completely before slicing into it as the bread will continue cooking with the residual heat in the loaf even after removing it from the oven.
- If your batter starts to smell extra sour or slightly fishy, you have overfermented it. Once baked, it’s still safe to eat, but the taste will be affected.
- Use a serrated bread knife with ridged edges to slice the bread!
- Flavor this buckwheat bread to your liking by adding nutritional yeast, rosemary, olives, dried tomatoes and black pepper before baking!
This recipe has only been tested with buckwheat groats, not buckwheat flour! You most likely have to add psyllium husk powder and tapioca starch to make buckwheat bread out of flour.
Is buckwheat bread healthy?
Our easy recipe for gluten-free buckwheat bread is super healthy, yes!
It’s made from whole food plant-based ingredients, rich in omega-3, protein and calcium, and completely oil-free and sugar-free.
Store-bought buckwheat bread may contain large amounts of refined carbs or stabilizers, so we suggest making your own!
More vegan recipes
If you liked this easy buckwheat bread recipe, be sure to try the following goodness next!
Have you made our easy buckwheat bread and liked it? Let us know in the comments below and feel free to rate our recipe or Pin it for later!
Flourless Buckwheat Bread (No Yeast)
The easiest and best buckwheat bread with crispy edges and a deliciously nutty flavor. This gluten-free savory loaf slices well, doesn’t require any kneading, yeast or bread machine and is so nutritious!
Ingredients
- 2 cups buckwheat groats (330 g)
- 2 tablepsoons rolled oats
- 2 tablespoons flaxseeds
- 1 cup water (240 ml)
- 2 tablespoons applesauce, unsweetened
- 1 tablespoon tahini
- 2 teaspoon baking powder
- 1 teaspoon salt
Toppings
- Sesame
- Sunflower
- Flax
Instructions
Soaking and Fermentation
- Put the buckwheat groats and flaxseeds into a bowl, mix, and cover with water. Let everything soak for at least two hours or overnight.
- Once soaked, drain the water but don’t rinse the groats!
- Blend 1 cup of filtered water with the soaked groats until smooth
- Pour into a clean bowl and cover with a clean towel. Place the bowl at room temperature in a dry place for 12-24 hours. This will begin the fermenting process!
- If your batter starts to smell extra sour or slightly fishy, you have overfermented it. Once baked, it’s still safe to eat, but the taste will be affected.
Prep and bake
- Once fermented, your dough should have doubled in size. Preheat the oven to 320ºF (160ºC).
- Gently fold in the rest of the ingredients (ground oats, ground flaxseeds, applesauce, tahini, baking powder, and salt).
- Line a loaf pan with parchment paper, scoop the mixture into the pan, and flatten it evenly with a spoon.
- Brush your buckwheat oat batter with just a little bit of applesauce, then top with mixed seeds.
- Bake the bread for 90 minutes, then remove the pan from the oven and set your freshly baked bread aside for 10 minutes before removing from the pan.
- Let the buckwheat oat bread cool before slicing and serve it plain, with hummus or soup.
Notes
- The bread keeps well for about a week in the fridge and can be frozen once sliced.
- Make sure to allow the bread to cool before removing it from the pan and slicing it, so it doesn’t fall apart.
- Depending on your oven, the baking time may vary, so check on your bread after an hour.
- Storage: Store your bread in an airtight container on the counter for 1 day, then keep refrigerated for up to a week. To freeze, let cool and place in an airtight bag. It will last up to 3 months.
Nutrition Information:
Yield: 9 Serving Size: 1 sliceAmount Per Serving: Calories: 50Total Fat: 1gSaturated Fat: 0gTrans Fat: 0gUnsaturated Fat: 1gCholesterol: 0mgSodium: 270mgCarbohydrates: 9gFiber: 1gSugar: 1gProtein: 2g
Nutrition information is a rough estimate calculated automatically, their accuracy is not guaranteed. Just focus on whole plant-based foods and eat until satiety!


 Alena Schowalter is a Certified Vegan Nutritionist who has been a vegetarian since childhood and vegan since 2012. Together with her husband, she founded nutriciously in 2015 and has been guiding thousands of people through different transition stages towards a healthy plant-based diet. She’s received training in the fields of nutrition, music therapy and social work. Alena enjoys discussions around vegan ethics, walks through nature and creating new recipes.
Thank you for the gluten-free recipe.
Can buckwheat flour and oat flour be used instead of whole grains?
Will the measurement be same?
thanks for the question, you need to use slightly less buckwheat and oat flour in weight compared to their whole grain variety. start with 300 grams and see how everything comes together!
Hello,
Thank you for posting this recipe. It looks yummy :)
When soaking the buckwheat,
– are you covering with a cloth or does it need to be sealed with a lid?
– are you putting the soaking bowl in the fridge or on your counter?
– is there an “ideal” amount of time it should soak?
– will this soaking produce sprouts?
Thank you in advance for your answers :)
Janice
Hi Janice, great questions!
Yes, cover your bowl with the soaking buckwheat using a towel, plate or lid. I never use a sealed lid so I don’t know what would happen in this case — there’s no need to. I soak the buckwheat groats on the counter for 2 hours which is enough to soften them up. But if you want to bake the bread in the morning, you can let the buckwheat soak overnight! It won’t start producing sprouts at this point, this usually happens when soaking buckwheat for 2 days or so.
Hope this helps!
Best wishes x
This is great. Thank you so much for your answers. I can’t wait to try your recipe :)
If I am using buckwheat flour, I don’t need to soak it right? Do I still need to soak the flaxseeds? How much water should I use?
right, I answered this in another comment: thanks for the question, you need to use slightly less buckwheat and oat flour in weight compared to their whole grain variety. start with 300 grams and see how everything comes together!” the flaxseeds need to be mixed with a few tablespoons of water to create a gel that replaces eggs in baking!
I love this bread but I’m not sure I processed it enough. My bread didn’t rise at all. Does the batter need to be super smooth?
Is there any replacement for tahini that we could do? Or just leave it out altogether?
you can leave it out or add some oil if you like to make the bread richer and hold the moisture.
can you sprout the seeds and use the same recipe? Also can you make it in a breadmaker to save putting on a large oven to heat? Thanks.
Hi:)
Can I substitute the buckwheat for hempseed groats?
Thank you
Hi Viktoria,
I haven’t tried this recipe with hempseed groats! But it would be super interesting to know if this swap works. Perhaps you can judge for yourself if you’re more familiar with this ingredient and then report back to us :)
Best wishes,
Alena
Hi there,
Should we not grind the Flax seeds first, so they can actually be absorbed by our bodies?
yes, I use mostly ground flax! Thanks for pointing this out :)
Hi, is there a substitute for the applesauce? Thanks!!
sure, use vegetable oil instead! applesauce is used to hold the moisture :)
Thanks! It actually occurred to me when I remembered that apple sauce was being used for oil in some recipes, but good to have the confirmation!
Hi Alena! This recipe looks delicious. I was just wondering how to tell when it’s done?
After smoothing the soaked groats and flax seeds in a food processor, they’ve been sitting in a covered bowl at room temperature for 21 hours. The mixture hasn’t grown in size (I marked the bowl’s side) and there are no signs of fermentation. How should I proceed?